
Contact Us Today
Uncategorized
Roof Storm Damage: A 24-Hour Guide for Homeowners in Virginia
September 23, 2026
Key Takeaways
- The actions you take in the first 24 hours after roof storm damage directly affect the outcome of your insurance claim. Doing them in the wrong order, or skipping steps, can reduce your payout or complicate the claim process significantly.
- Your first priority is personal safety and interior protection, not the roof itself. No one should be on a damaged roof immediately after a storm, and preventing interior water damage while the roof is compromised is more immediately important than starting the repair process.
- Document everything before anything is moved, cleaned, or covered. Insurance adjusters evaluate claims based on evidence. Evidence disappears when debris is cleared, tarps are placed, or repairs begin without photographs.
- Call a qualified local roofing contractor for a professional damage assessment before calling your insurance company if possible. A contractor’s documentation of the damage is a more specific and advocacy-oriented record than the homeowner’s own photographs.
- Storm chaser contractors follow major weather events and target homeowners in the window immediately after a storm. Knowing how to identify them and why to avoid them protects you from contractors who may do poor work or disappear before warranty issues are addressed.
- Virginia’s Atlantic storm season peaks in August and September. Having a plan for the first 24 hours before you need it is significantly better than forming one while water is coming through the ceiling.
The Window That Determines What Happens Next
Storm damage to a roof creates a specific, time-limited window in which the decisions you make set the trajectory for everything that follows: how much your insurance pays, how quickly repairs happen, how much you pay out of pocket, and how well the repair holds up long-term.
Most homeowners enter this window without a plan. They are dealing with the immediate stress of a damaged home, possibly interior water damage, the disruption to the household, and the uncertainty of not knowing what the damage actually is or what it will cost. In this state, it is easy to make decisions in the wrong order, miss steps that matter for the insurance claim, or engage with contractors who are not acting in your interest.
This post is designed to give you the plan before you need it, and to provide the specific sequence of actions that protects your interests when the window opens.
Hours 0 to 2: Safety and Interior Damage Control
Do Not Go on the Roof
This is the most important instruction in this entire guide, and it requires emphasis because it is also the most commonly violated one.
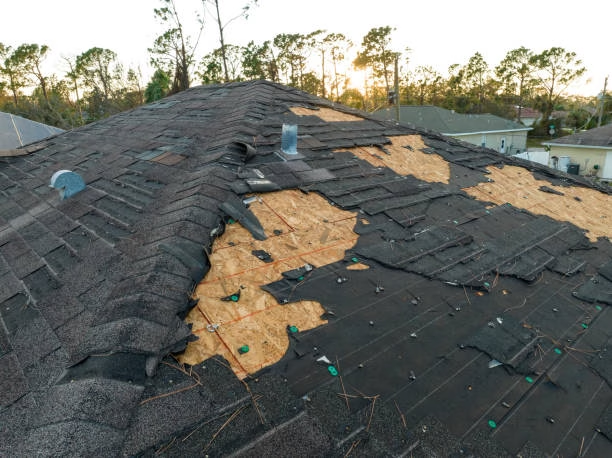
A roof immediately after a storm is not a safe surface. Wet shingles are slippery. Damaged sections may have compromised structural integrity that is not visible from the surface. Debris, including branches, foreign objects carried by the wind, and displaced roofing material, may be on the roof in positions that create trip hazards. Power lines that have come down may be in contact with the roof or with the ground near the home.
The information you can get by going on the roof in the first two hours does not justify the risk. A ground-level assessment and interior inspection provide enough information to take all the immediate actions that need to happen before a professional can safely access the roof.
The safe assessment:
- Walk around the perimeter of the house and observe from the ground what you can see
- Look for obviously missing shingles, visible structural damage, debris on the roof, or any component that has clearly failed
- Check for downed power lines near or in contact with the structure
- Do not touch any downed power lines or anything in contact with them
- Contact your utility company if power lines are down on or near the property before taking any action near them
Address Interior Water Intrusion Immediately
If the storm has created water entry into the living space, interior protection is the immediate priority. Water that enters through a damaged roof and is not managed quickly damages ceilings, insulation, drywall, flooring, electrical components, and personal property in ways that compound rapidly.
Immediate interior actions:
- Place buckets, towels, or containers under any active drip points
- Move furniture, electronics, and valuable personal property away from the affected area
- Turn off electricity to any rooms where water is entering near electrical fixtures, panels, or wiring. If you are not certain whether the electrical system in the affected area has been compromised, contact an electrician before turning anything back on
- Begin removing standing water from any floor surface immediately to prevent it from penetrating flooring materials and reaching subfloor
Document before protecting: Before you start placing buckets and moving furniture, take photographs of the active water intrusion, the wet areas, and any property that has already been damaged. This documentation supports a claim for interior damage alongside the roof damage claim.
Emergency Tarping: When and How
If there is active water entry through the roof and a storm has passed (it is not safe to work on or near a roof during active lightning or high wind), temporary tarping of the compromised area prevents ongoing water intrusion until professional repairs can begin.
Who should place the tarp: If you have a contractor on the way, wait for them. Temporary tarping by a roofing professional is done correctly and is part of the service documentation. If active water intrusion is severe and the contractor cannot arrive immediately, a careful temporary tarp placement by a competent adult may be necessary, but only when it is safe to do so.
How to tarp correctly (when safe):
- Use a heavy-duty polyethylene tarp, at least 6 mil thick
- Extend the tarp over the ridge if possible so it covers both sides of the affected slope and prevents water from running under the upper edge
- Secure the tarp with weights, boards, or rope tied around the tarp and under the eave. Do not nail or screw through the tarp into undamaged roofing material
- The tarp should overlap the damaged area by at least four feet in all directions
Keep all receipts for any emergency materials purchased. These are typically reimbursable through the insurance claim as reasonable mitigation expenses.
Hours 2 to 6: Documentation and Professional Contact
Document Everything Before Cleanup Begins
The most common documentation mistake homeowners make after storm damage is cleaning up and covering things before they have an adequate photographic record. Insurance adjusters evaluate claims based on evidence, and evidence disappears the moment debris is cleared, tarps are placed, or repairs begin.
What to photograph:
- The full extent of any visible roof damage from ground level, including multiple angles
- Any debris on the roof or in the yard that was part of the structure (missing shingles, flashing pieces, ridge cap sections)
- Any fallen tree limbs or other objects in contact with the roof
- The interior: active water intrusion, wet areas, damaged ceilings, affected personal property
- The exterior at grade level: any foundation splash damage, window damage, siding damage from hail or wind
- The gutter system: any sections pulled away from the fascia, filled with debris, or damaged
Date and time stamps: Most smartphone cameras embed date and time information in photograph metadata automatically. Verify that your phone’s camera is set correctly to the current date and time before taking documentation photographs.
Video: A brief narrated video walkthrough of the damage, both exterior and interior, provides context that photographs alone may not fully convey. The narration that describes what you are seeing and when it occurred adds documentation value.
Contact a Qualified Local Roofing Contractor
After documenting the visible damage, contact a qualified local roofing contractor to schedule a professional damage assessment as soon as possible.
Why the contractor’s assessment comes before the insurance call:
A contractor who assesses the damage before the insurance adjuster visits can:
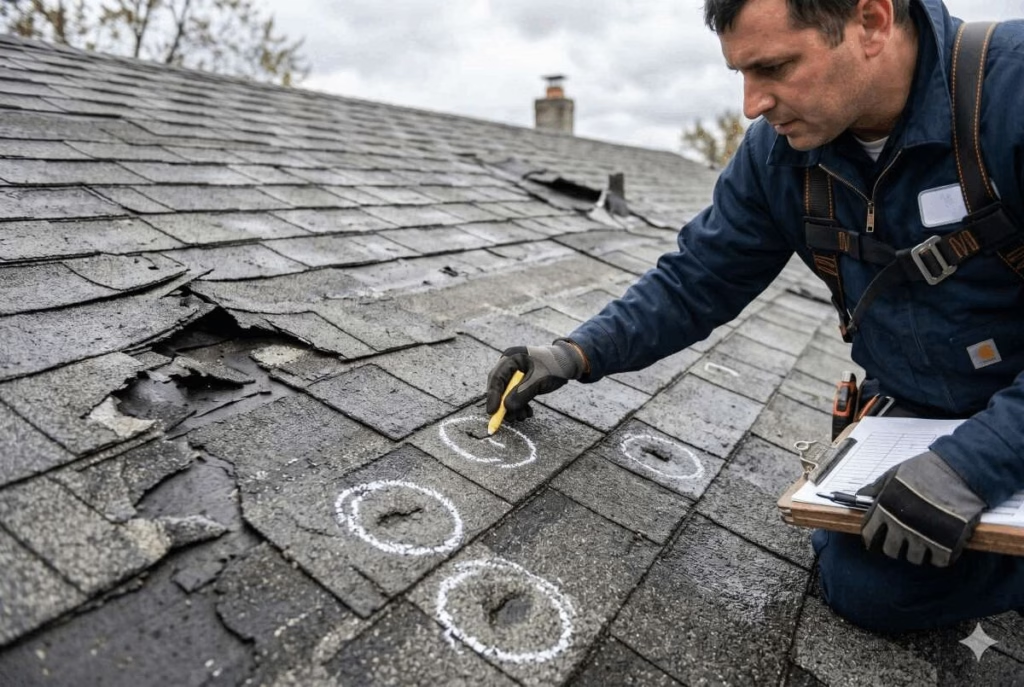
- Identify and document damage that the homeowner’s photographs missed (damaged flashings, hail impact on soft metals, subtle structural issues not visible from ground level)
- Provide a specific, itemized scope of damage in the format that insurance adjusters work from
- Be present when the insurance adjuster visits to advocate for the full scope of covered damage being included in the claim
- Identify damage that is not immediately visible to a non-expert that would be included in the insurance scope
A homeowner’s photographs are valuable documentation. A contractor’s professional assessment alongside those photographs is substantially stronger.
Four Seasons Roofing provides storm damage assessment and insurance claim assistance to Central Virginia homeowners at no separate charge. This service includes both the physical assessment and documentation, and includes contractor availability during the insurance adjuster visit when scheduling allows.
Hours 6 to 12: Insurance Claim Initiation
Call Your Insurance Company
With your documentation in hand and a contractor’s assessment either completed or scheduled, contact your homeowner’s insurance company to open a claim.
What to have ready when you call:
- Your policy number
- The date and approximate time of the storm event
- A description of what occurred: wind, hail, or both; any visible damage you can describe from your documentation
- The address of the damaged property
- Your contact information and preferred method of communication
What to say and not say:
Describe what you observed clearly and factually. Do not speculate about the cause of any damage you are not certain about. If you observed hail, say you observed hail. If you did not observe the storm directly but discovered damage afterward, say that.
Do not characterize any damage as “pre-existing” unless you are certain it predates the storm. Characterizing recent storm damage as pre-existing, even inadvertently, can complicate your claim.
Do not agree to any claim amount or sign any documents during the initial call. The initial call opens the claim and schedules the adjuster visit. The claim amount is determined later.
Understanding What Comes Next
After opening the claim, the insurance company will assign an adjuster and schedule a visit. This visit may be scheduled within a few days or, after a regional storm event that affects many properties simultaneously, may be several weeks out.
Your role at the adjuster visit:
Be present. Walk the property with the adjuster. Share your documentation and your contractor’s assessment documentation. Ask questions about what the adjuster is including in their scope and why.
You are not required to accept the adjuster’s assessment as final. If you believe damage has been missed or undervalued, the process for addressing that (supplemental claim, re-inspection, appraisal) begins at this visit.
Protecting Yourself From Storm Chaser Contractors
Every significant storm event that affects a Virginia community is followed, within days, by out-of-state roofing contractors who travel specifically to areas with concentrated storm damage to solicit work. These “storm chasers” operate a specific business model that creates real risks for homeowners in the vulnerable post-storm window.
Why storm chasers create problems:
They are not local. A contractor without local roots has no reputation to protect in the community. If work quality issues arise six months after the project, there is no local office to contact, no local presence to hold accountable, and in many cases, the out-of-state company has moved on to the next storm market.
They pressure for immediate commitment. Storm chasers use the urgency of storm damage and the fear of not getting on a contractor’s schedule to pressure homeowners into signing contracts before they have compared quotes, verified contractor credentials, or spoken with their insurance company. Legitimate local contractors do not require you to sign a contract on the day of the first contact.
They may file claims on your behalf inappropriately. Some storm chasers use the insurance claim process in ways that create legal and financial risk for the homeowner, including signing insurance documents on the homeowner’s behalf without authorization or making representations to the insurer that are not accurate.
They may do poor work and disappear. The business model of a storm chaser is completed transactions volume, not ongoing community reputation. Work quality may be lower than what a locally accountable contractor provides, and warranty claims that arise after the company has moved to the next storm market may be impossible to resolve.
How to identify a storm chaser:
- Out-of-state license plates on vehicles
- They appeared at your door unsolicited within days of the storm
- They claim to “work directly with your insurance” in ways that seem to bypass normal claim procedures
- They cannot provide a local business address or local references
- They pressure for a same-day or next-day contract signing
What to do instead:
Work with a contractor you can verify: local address, local reviews across multiple platforms over multiple years, proper state contractor licensing, and appropriate insurance coverage. A contractor who has been serving the Central Virginia community for years has a reputation to protect and is accountable to the community they work in.
Four Seasons Roofing has been serving Central Virginia for over 14 years. The team is local, licensed, and insured, and our reviews reflect years of work in this specific community. We provide storm damage assessment and insurance claim assistance as part of our service to local homeowners, not as a mechanism for capturing claims volume.
Hours 12 to 24: Planning and Follow-Through
Verify Your Coverage Before Committing to Any Work
Before any repair or replacement work is authorized, understand what your insurance policy covers and for what amount.
Key policy terms to understand:
- Replacement Cost Value (RCV) vs. Actual Cash Value (ACV): RCV policies pay the cost to replace the damaged portion at current material and labor prices, without depreciation. ACV policies pay replacement cost minus depreciation, which can be significantly less for an older roof.
- Wind and hail deductible: Many Virginia homeowner’s policies include a separate, higher deductible specifically for wind and hail damage, often expressed as a percentage of the home’s insured value (1 to 2 percent is common). Know your deductible before assuming the insurance will cover the majority of the cost.
- Payment timing: RCV policies often release the full replacement cost in two payments: an initial payment minus the depreciation holdback, and a second payment releasing the holdback after the repairs are completed and documented.
Avoid Deductible-Waiver Offers
A contractor who offers to “waive your deductible” or to make the insurance pay for everything including your deductible is offering something that is both legally problematic and financially risky.
Virginia law prohibits contractors from waiving insurance deductibles as an inducement to entering a contract. A contractor who makes this offer is either violating state law or misrepresenting what the arrangement actually involves. Either way, it is a reason to disengage with that contractor and choose a different one.
Your deductible is your contractual obligation under your insurance policy. It is the cost-sharing mechanism built into your coverage. It must be paid.
Get the Written Estimate Before Authorizing Work
Before signing any contract or authorizing any work beyond emergency tarping, obtain a written estimate that itemizes the scope of work and the associated costs. This estimate is your basis for verifying that the insurance claim scope matches what the repair actually requires, and for making an informed decision about which contractor to engage.
Four Seasons Roofing provides both a free roof inspection and damage assessment and a written estimate for all proposed work. There is no obligation to proceed with any work before you have reviewed and agreed to the written scope and cost.
After the First 24 Hours: What Continues
The Insurance Claim Process
After the adjuster’s visit, the claim process continues through several steps:
Reviewing the adjuster’s estimate: Compare the adjuster’s scope to your contractor’s assessment. Gaps between the two are common and can be addressed through a supplemental claim request supported by the contractor’s documentation.
Authorizing work: Once the insurance scope is agreed upon (or supplemental negotiation is complete), authorize the roofing contractor to begin work. Most contractors require a signed contract and often a deposit before scheduling.
Completion documentation: After work is completed, some insurance companies require completion documentation before releasing the depreciation holdback on RCV policies. The contractor provides this documentation.
Interior damage claims: If the storm damage created interior water damage, a separate claim component may cover the interior repairs. Document all interior damage and keep all receipts for any emergency interior repairs or mitigation costs.
Staying Ahead of Storm Season Going Forward
The most protective thing a Virginia homeowner can do for future storm seasons is maintain the roof in a condition that minimizes vulnerability before storm events rather than addressing damage after them.
Annual professional roof inspections identify early-stage problems, including failing flashings, advancing shingle deterioration, and ventilation issues, before they become the damage pathways that a storm exploits. A roof that is inspected annually and maintained appropriately is a roof that is less likely to require the emergency process described in this post.
The First 24 Hours: A Quick Reference
For the homeowner who needs a reference they can find quickly after a storm event:
Hours 0 to 2:
- Do not go on the roof
- Check for downed power lines. Contact utility company if present
- Conduct ground-level exterior assessment and document with photographs
- Address interior water intrusion: buckets, furniture removal, turn off electricity to affected areas if safe
- Photograph all interior damage before moving or protecting anything
- Place emergency tarp only if safe to do so and active water entry is occurring
Hours 2 to 6: 7. Photograph all visible exterior damage systematically 8. Photograph debris on roof and in yard related to the damage 9. Contact a qualified local roofing contractor for professional damage assessment 10. Keep all receipts for any emergency materials purchased
Hours 6 to 12: 11. Contact insurance company to open claim with documentation ready 12. Note claim number and adjuster scheduling information 13. Schedule contractor to be present at adjuster visit
Hours 12 to 24: 14. Verify policy terms: RCV vs. ACV, deductible, wind and hail-specific deductible 15. Avoid out-of-state storm chasers and any offer to “waive the deductible” 16. Obtain written estimate from contractor before authorizing work
The Bottom Line
Storm damage to a Virginia home creates a specific time-limited window in which the actions taken determine the outcome. The sequence above is not a formality. Each step exists because it matters for a specific downstream outcome: insurance claim value, repair quality, contractor accountability, or interior damage prevention.
Four Seasons Roofing serves Central Virginia homeowners through the storm damage and insurance claim process as part of our standard service. We have been doing this work in this community for 14 years, and we know what it takes to document a claim correctly, work with Virginia insurers on storm scope assessments, and produce repair work that holds up.
If your home has been affected by a storm event, call us at 434-390-0199 or schedule a storm damage assessment online. We will be there quickly, document everything properly, and walk you through every step of what comes next.
Why Schedule a Call?
Popular Insights
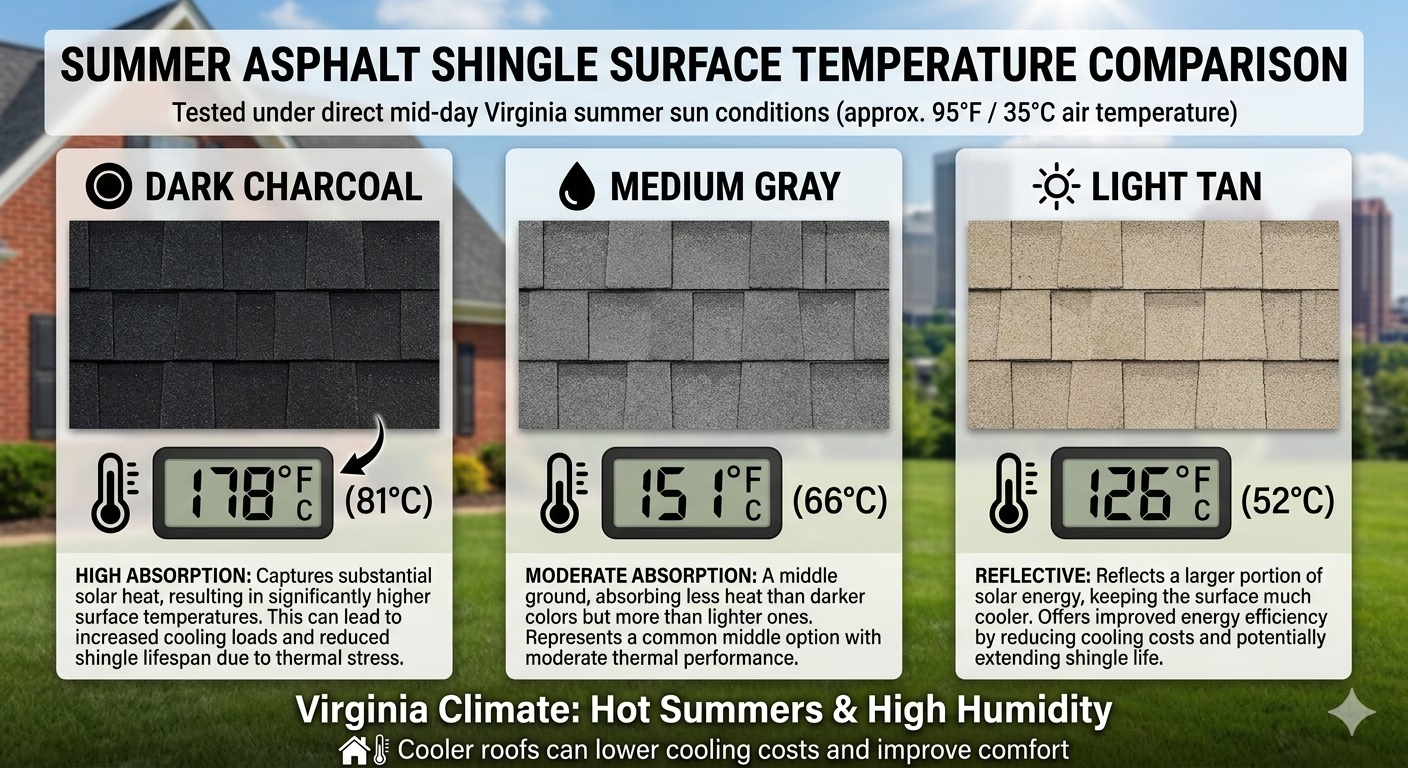
Can a New Roof Lower Your Virginia Energy Bills? What to Expect by Material and Season
Oct. 21, 2026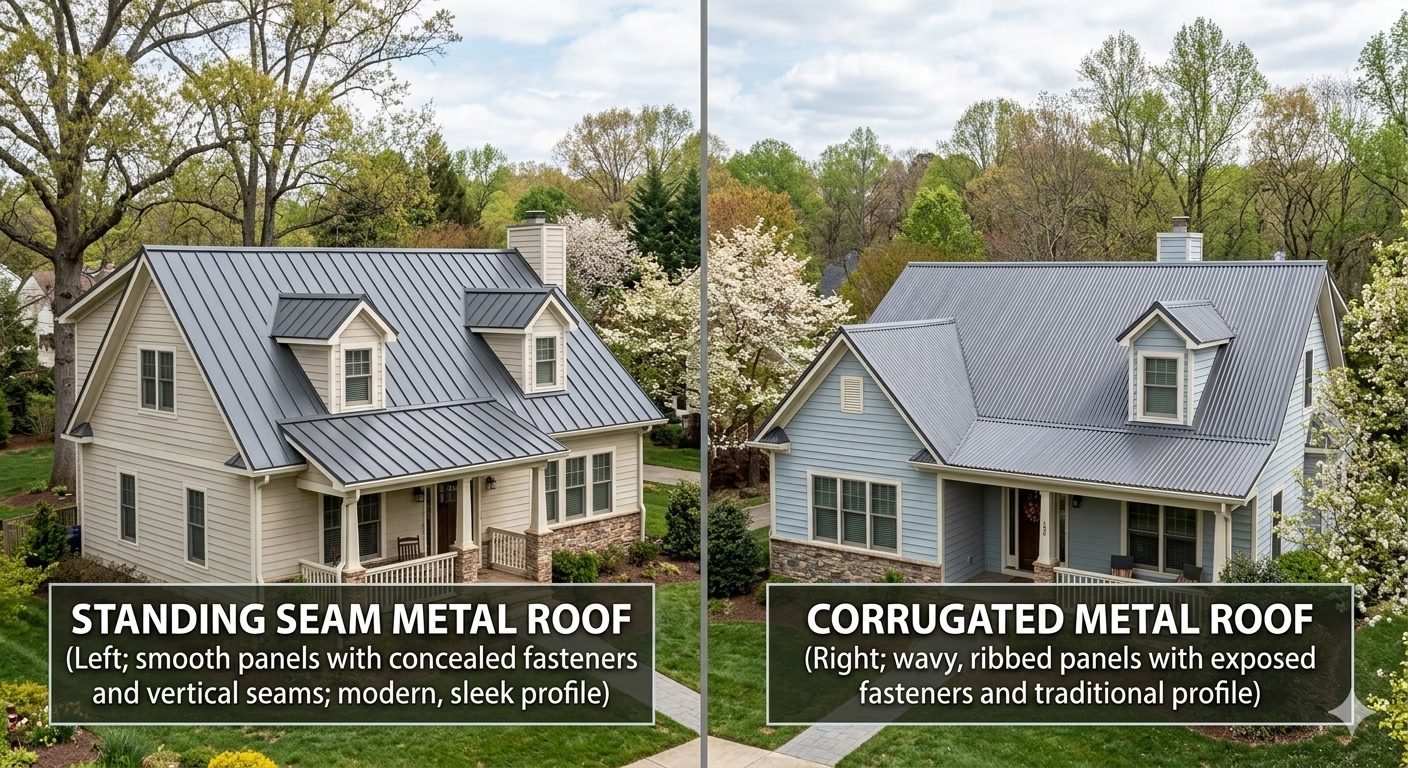
Metal Roofing Cost in Virginia: Standing Seam vs Corrugated and What’s Actually Worth It for Your Home
Oct. 09, 2026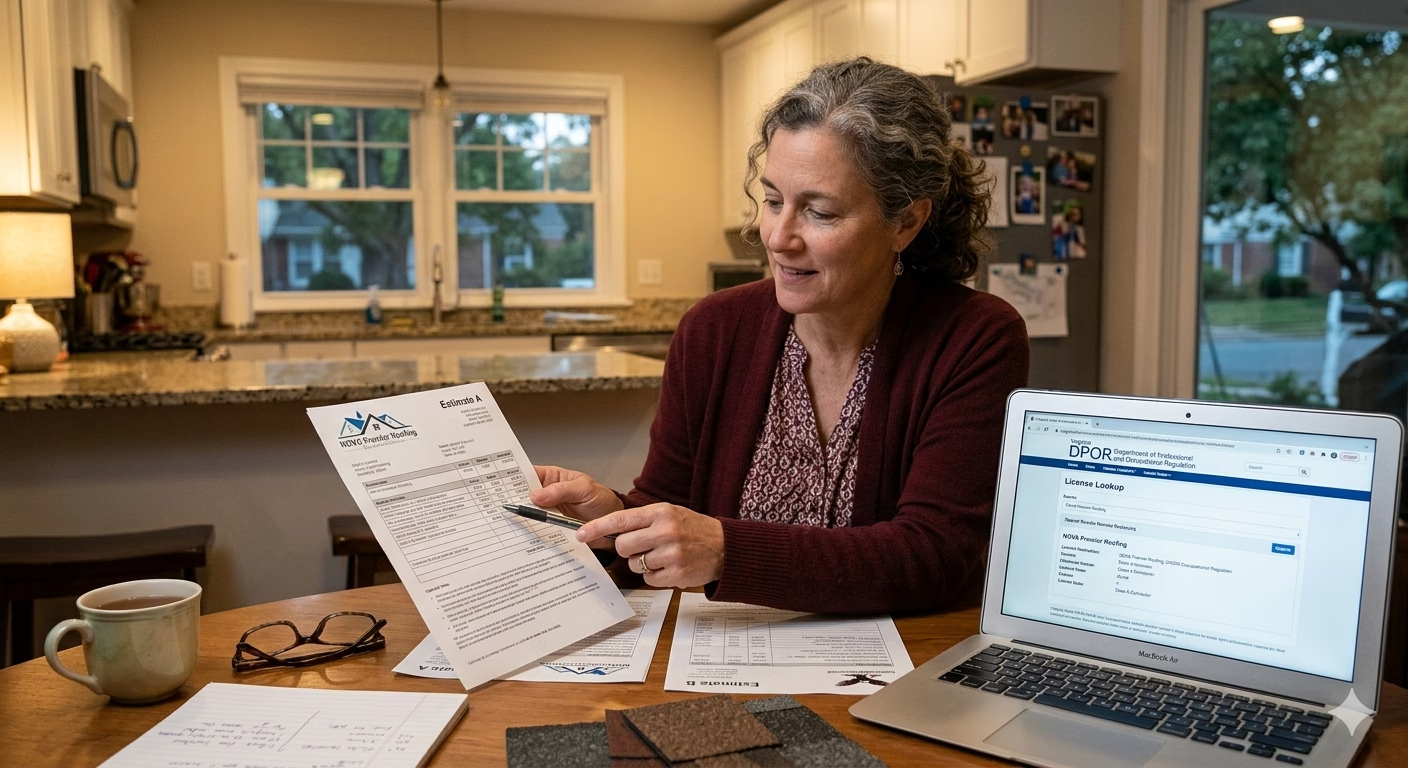
How to Choose a Roofing Contractor in Virginia: 6 Questions That Separate Professionals from Fly-by-Nights
Oct. 02, 2026
New Roof Installation in Lynchburg, VA: What Homeowners Can Expect from Estimate to Final Day
Sep. 25, 2026Storm Damage Roofing in Central Virginia: What to Do in the First 24 Hours After Your Roof Is Hit
Sep. 23, 2026Topics
Our Services
- Gutter Services
- Storm Damage Roofing
- Commercial Roofing Service
- BRAVA Cedar Shake Roofing Tile
- Insurance Claim Assistance
- Residential Roofing Services
- Roof Inspection Services
- Roof Repair Service
- Roof Replacement Service
- Shingle Roofing Service
- Metal Roofing Service
- Emergency Roof Repair Services
- BRAVA Spanish Tile
- BRAVA Slate Tile