Contact Us Today
Uncategorized
New Roof Installation in Lynchburg, VA: A Step-by-Step Guide
September 25, 2026
Why a Step-by-Step Guide Matters for Lynchburg Homeowners
Most homeowners replace their roof two or three times over the course of a lifetime of homeownership. It is not a project most people have done before, and the unfamiliarity with what the process looks like is a significant source of the stress that surrounds it.
Questions pile up before the first call is ever made: How do I know if I actually need a new roof? How long does it take? What happens to my belongings? Will my driveway be damaged? What do I do if they find something unexpected? How do I know the work is being done correctly?
This guide answers those questions in the sequence they arise, from the first phone call through the final day of installation. It is written specifically for Lynchburg area homeowners, which matters because local context affects contractor selection, material availability, scheduling windows, and the specific climate factors that influence both material choice and installation timing.
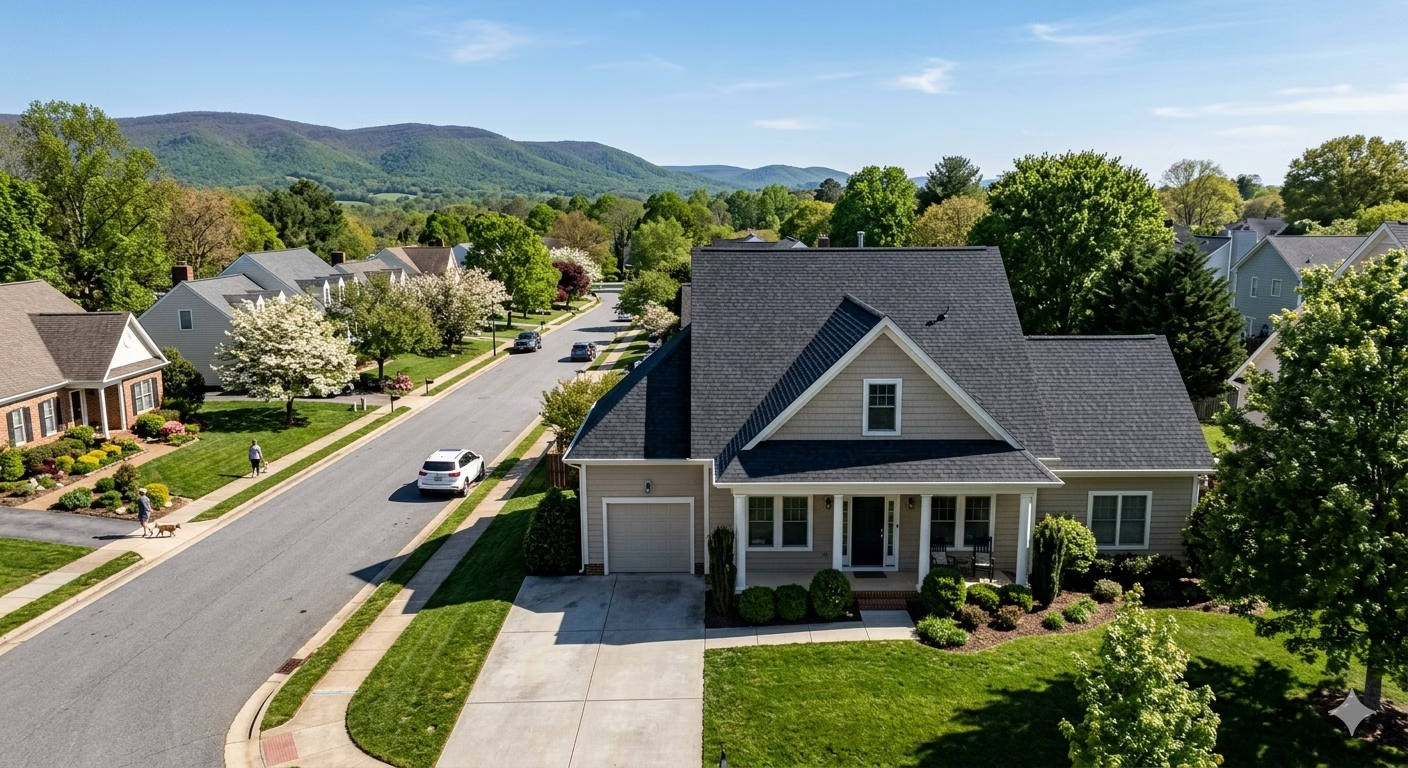
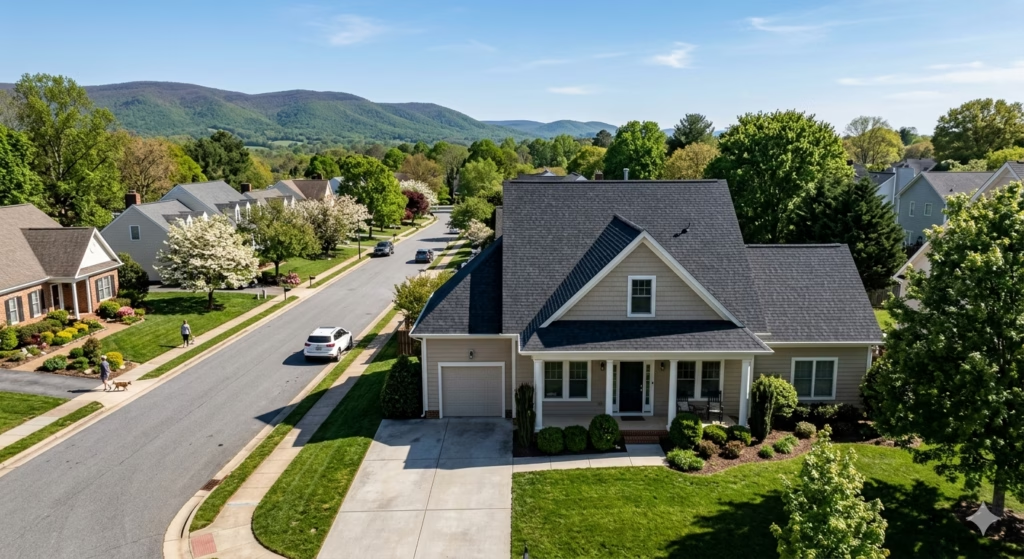
Lynchburg’s location in Central Virginia’s Piedmont region creates a specific roofing environment: summer heat and humidity that stress shingle surfaces, tropical storm remnants from late summer and fall, and winter freeze-thaw cycles that test flashings and eave protection. The right contractor for a Lynchburg home understands these conditions and specifies materials and installation practices appropriate for them.
Phase 1: The First Call and Inspection Scheduling
The process begins with a phone call or an online contact to schedule a roof inspection and estimate. What happens in this first conversation sets the tone for the relationship with the contractor and provides the first signal about whether the company operates professionally.
What a Good First Call Looks Like
A contractor who takes the initial call seriously will:
- Ask about the specific situation that prompted the call (age of the roof, storm event, visible damage, preparation for sale, or general concern)
- Ask about the home’s characteristics: approximate age, roof configuration (gable, hip, dormers), any known previous repairs or issues
- Explain the inspection process and what to expect
- Schedule an on-site visit at a specific time rather than a vague “someone will call you”
If the contractor offers a price estimate over the phone without scheduling an inspection, this is a significant red flag. No honest estimate can be made without seeing the roof, and any number provided without an inspection is not an estimate — it is a placeholder that will change.
The Inspection Window
For Four Seasons Roofing in the Lynchburg area, the first available inspection time depends on the current workload and season. Spring and summer are peak seasons in Central Virginia, and scheduling may be two weeks out during busy periods. Fall inspections often have shorter lead times. Emergency inspections following storm events may be expedited.
For homeowners whose situation is urgent, stating the urgency during the initial call allows the scheduling team to prioritize appropriately.
Phase 2: The Professional Roof Inspection
The roof inspection is the foundation of the entire project. Everything that follows, the scope of work, the material recommendations, and the project cost, is based on what the inspector finds on the roof and in the attic.
What the Inspector Examines
The exterior roof surface: The inspector physically accesses the roof and examines every slope, every flashing installation, every penetration, and the ridge line. The inspection is not a ground-level observation or a satellite image measurement. It is hands-on assessment by someone who can flex a shingle edge to test brittleness, push against a pipe boot to check its seal, and walk the full surface to feel for soft spots in the decking.
The attic interior: The inspector accesses the attic to examine the underside of the roof decking for water staining, mold, soft spots, and any evidence of past or current moisture intrusion. The attic inspection also evaluates the adequacy of the ventilation system, which directly affects the lifespan of the new roof that will be installed.
The perimeter components: Gutters, soffits, fascia, and drip edge condition are assessed. These components affect how water is managed at the eave and whether the new roof installation will encounter any complications at the perimeter.
What the Inspector Is Looking For Beyond Obvious Damage
Beyond the visible surface condition, a thorough inspector is looking for:
- Decking condition beneath the shingles: Soft decking discovered during installation creates unexpected cost and delay. Identifying it during inspection allows it to be included in the original scope rather than discovered mid-project.
- Ventilation adequacy: A new shingle roof installed over an inadequately ventilated attic will have a shorter lifespan than its rating because heat accumulation in the attic degrades shingles from below. If ventilation is inadequate, additional ridge vents, soffit vents, or powered ventilators may be needed as part of the project.
- Existing layer count: Virginia building codes allow only a certain number of shingle layers before a full tear-off is required. Two layers typically triggers a required full tear-off. The inspector identifies the current layer count.
- Flashing complexity: Chimney flashings, skylight curb flashings, dormer step flashings, and multiple valleys each add to the project scope and cost. Identifying these during inspection ensures the estimate is complete.

Phase 3: The Estimate Presentation
After the inspection, the contractor prepares and presents a written estimate. This document is the basis for the homeowner’s decision, and understanding what a complete estimate looks like helps identify when something is missing.
What a Complete Estimate Includes
A thorough estimate from a professional roofing contractor in the Lynchburg area should clearly specify:
Scope of work:
- Full tear-off and disposal of existing material (including layer count being removed)
- Decking inspection and a note about how additional decking replacement will be handled and priced if needed
- Ice and water shield installation at the eaves and in all valleys
- Synthetic underlayment specification
- Drip edge installation
- Specific shingle product (manufacturer, line name, color)
- Flashing specifications (chimney, pipe boots, step flashings, valley)
- Ridge cap specification and installation method
- Ventilation modifications (if any, with specific products)
Pricing:
- Total project price
- Any line items that could change the total (decking replacement per square foot, for example)
- Payment terms and schedule
Warranty:
- Manufacturer warranty for the shingle product
- Contractor’s workmanship warranty
Timeline:
- Estimated start date
- Estimated project duration
If any of these elements are missing from a written estimate, ask for them before signing. A contractor who cannot or will not provide a detailed written estimate is not a contractor worth proceeding with.
Comparing Multiple Estimates
Most Lynchburg homeowners receive two to three estimates for a roof replacement. Comparing these estimates is more productive when you understand the variables:
Material quality: A lower quote may reflect a lower-grade shingle product. Confirm that competing estimates specify the same manufacturer and product line before comparing prices.
Scope inclusions: One estimate may include drip edge replacement while another does not. One may include ventilation modifications that another overlooks. Differences in scope create differences in price that are not a reflection of contractor quality.
Insurance and licensing: A lower quote from a contractor who carries inadequate insurance or is not properly licensed creates liability for the homeowner if something goes wrong. Verify licensing and insurance before comparing prices as a primary criterion.
Phase 4: Material Selection and Project Scheduling
Once the estimate is reviewed and the contractor is selected, the project moves into the material selection and scheduling phase.
Choosing the Right Materials for Lynchburg’s Climate
The Lynchburg area’s climate creates specific material considerations that the contractor should address during this conversation.
Shingles: Architectural (dimensional) shingles are the appropriate standard for Lynchburg residential roofing. Algae-resistant shingles with copper-granule blending are specifically worth considering in Central Virginia because Lynchburg’s warm, humid climate supports aggressive Gloeocapsa magma algae colonization that darkens shingle surfaces and accelerates deterioration. Class 4 impact-resistant shingles carry a higher premium but offer better performance under Lynchburg’s hail events and can sometimes qualify for insurance premium reductions.
Underlayment: Synthetic underlayment has replaced traditional felt paper as the standard in quality installations. Synthetic products are stronger, more tear-resistant, and better waterproof barriers than felt, which degrades if the home is exposed to rain between tear-off and installation.
Ice and water shield: Required at the eaves to protect against ice dam formation in Lynchburg’s winter freeze-thaw events. Lynchburg experiences enough below-freezing weather to make ice dam risk real, and proper ice and water shield installation at the eave is not optional for a code-compliant installation.
Flashing: Aluminum and galvanized steel flashings are both used in the region. The inspector should specify the appropriate product for the conditions at each flashing location.
For homeowners who are considering alternatives to asphalt shingles, the metal roofing options and BRAVA composite tile options that Four Seasons Roofing installs offer significantly longer service lives in Lynchburg’s climate, at higher upfront costs that the long-term comparison often justifies.
The Scheduling Timeline
After material selection and contract signing, a realistic timeline for scheduling in the Lynchburg area is:
- Material ordering: Most roofing materials are available from local distributors within three to five business days
- Scheduling: Peak-season projects (May through September) may have two to three week lead times; off-season projects often have shorter windows
- Pre-installation notification: A professional contractor confirms the start date several days in advance and provides a specific arrival window
The combined material-to-installation timeline is typically two to four weeks from signed contract to start date in normal conditions. This timeline can compress if a contractor has materials on hand, or extend during peak demand periods.
Phase 5: Homeowner Preparation for Installation Day
The night before and the morning of installation, there are specific preparation steps that make the project go faster, safer, and with less disruption to the household.
The Night Before
Move vehicles from the driveway. The roofing crew will need driveway access for their truck and a dumpster placement. If vehicles cannot be moved to the street, confirm the dumpster placement location with the contractor so you know where not to park.
Mark or cover any landscaping you are concerned about. The crew will use tarps to protect landscaping beneath the work area, but marking plants that are particularly valuable and confirming the protection plan with the crew lead is appropriate.
Move items in the attic. Anything stored in the attic directly below the work area may be subject to vibration, dust, and in some cases, falling small debris if there are any penetrations in the decking. Moving valuable or fragile items from the attic before the project begins is the conservative approach.
Inform neighbors. A roofing project is not quiet. Notifying immediate neighbors about the start date and expected duration is a courtesy that is appreciated, particularly in neighborhoods where houses are close together.
The Morning of Installation
Secure pets. The roofing crew will be in and out of the yard, accessing areas of the property that pets may not typically encounter. Dogs that may react to strangers in the yard should be kept indoors or secured. Outdoor cats should be brought inside.
Make interior items accessible. If the contractor needs access to the attic, which they should if they are making any ventilation modifications, confirm that the attic access point is clear.
Clear the yard. Lawn furniture, children’s toys, garden tools, and any other items in the yard near the house should be cleared from the area that will be under the active work zone.
Plan for noise. A roofing crew installing and removing a shingle roof is loud. If you work from home and have calls scheduled, planning for that reality in advance saves frustration.
Phase 6: Installation Day – What Actually Happens
Understanding what happens during installation helps homeowners know what is normal, what to expect at each stage, and when to ask questions.
Stage 1: Material Delivery and Setup (Morning)
The crew arrives with materials and equipment. A dumpster is positioned for tear-off debris. Tarps are placed along the perimeter of the house beneath the work area to catch falling debris and protect landscaping.
The crew lead will typically introduce themselves, confirm the scope of work, and answer any last-minute questions before work begins.
Stage 2: Tear-Off
The existing roofing material is removed from the decking. On a standard residential roof in Lynchburg, tear-off of a single layer of architectural shingles from a 20-square (2,000 square feet) roof typically takes two to four hours with a standard crew.
Tear-off is the loudest phase of the project, involving the sound of shingles being pulled and falling material hitting the dumpster.
What you may observe during tear-off: Workers moving quickly across the roof surface, rakes pulling shingles in sections, debris falling into the dumpster and onto the tarps below.
The decking inspection: When the shingles are removed, the inspector and crew lead examine the decking before anything new goes on. Any soft, rotted, or structurally compromised sections are marked for replacement. This is the moment when unexpected decking conditions become visible, which is why the estimate should have included a per-square-foot rate for decking replacement if needed.
Decking replacement: If additional decking replacement is required beyond what was anticipated in the estimate, the crew should bring this to the homeowner’s attention before proceeding, show the specific areas of concern, and confirm the additional cost in writing.
Stage 3: Underlayment and Ice and Water Shield
With the decking inspected and any replacements made, the new moisture protection layers go on:
- Drip edge is installed at the eaves
- Ice and water shield is applied at the eaves (typically the first three to six feet, depending on local climate requirements) and in all valleys
- Synthetic underlayment is applied over the remaining decking surface
- Drip edge is installed at the rakes (the sides of the gable)
This phase is quieter than tear-off and represents the critical protective layer installation that prevents water intrusion if any shingle fails.
Stage 4: Shingle Installation
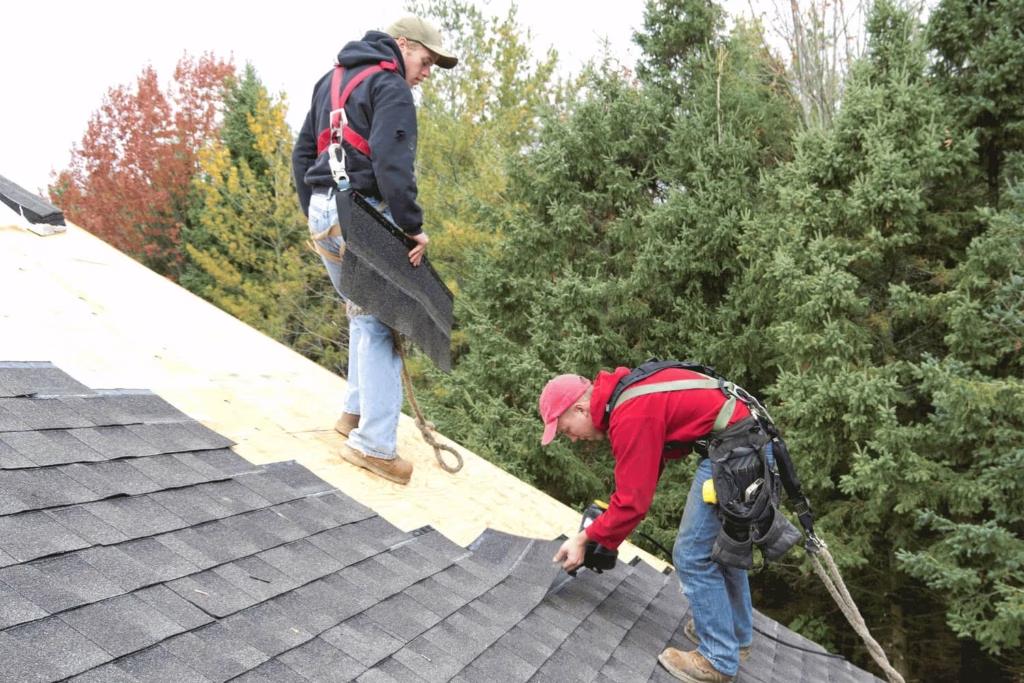
Shingles are installed from the eave upward in staggered courses, with each course offset from the one below to eliminate vertical seam alignment. Ridge cap shingles finish the ridge line.
This phase is the most visible and the longest in wall clock time, though it is less physically demanding than tear-off. For a 20-square residential roof, shingle installation typically takes four to six hours with a standard crew.
Stage 5: Flashing and Penetration Work
Flashings at every roof penetration, wall intersection, and valley are installed or reinstalled in coordination with the shingle installation. Chimney step flashings, counter-flashings, pipe boot replacements, and skylight flashings are addressed in this phase.
Flashing work is the most detail-intensive phase of the installation. It is also the phase whose quality most directly determines whether the new roof performs correctly at the most vulnerable locations.
Stage 6: Cleanup
After the roofing work is complete, the crew performs a thorough cleanup of the property. Tarps are collected and any debris that landed beyond the tarp area is collected. A magnetic nail roller is run across the driveway and lawn areas to collect any nails that fell during the project.
A crew that leaves your property clean is a crew that respects the work they did and the home they worked on. This is one of the things Lynchburg area homeowners consistently mention in reviews of Four Seasons Roofing projects.
Phase 7: Final Walkthrough and Documentation
Before the crew leaves the property, the project lead should conduct a final walkthrough with the homeowner.
What the Final Walkthrough Covers
Exterior inspection:
- All shingle courses are straight and correctly aligned
- Ridge cap is properly installed
- All flashings are visible and correctly positioned
- All penetrations (pipe boots, vent stacks, chimney) are properly flashed
- Gutters are clear of debris from the installation
- The property is clean of roofing material and nails
Documentation provided:
- Manufacturer warranty documentation for the shingle product
- Contractor’s workmanship warranty in writing, with specific terms and duration
- Any notes about decking replacement or other deviations from the original scope
- Contact information for any future questions or concerns
Payment: Most roofing contractors in the Lynchburg area structure payment with a deposit at contract signing and the final balance due at project completion. Do not make final payment before the walkthrough is complete and any concerns are addressed.
If You Notice Something During the Walkthrough
The final walkthrough is the appropriate time to raise any observations or questions. Pointing out an area where the shingle alignment does not look correct, a section of valley flashing that concerns you, or a cleanup item that was missed is entirely appropriate. A professional contractor takes these observations seriously and addresses them before leaving.
Concerns raised during the walkthrough are handled as part of the project. Concerns raised days or weeks later may still be addressed under the workmanship warranty, but the most efficient resolution happens before the crew demobilizes.
After the Installation: What Comes Next
The First Rainfall
Many homeowners are anxious about the first rainfall after a new roof installation. This is understandable but typically unnecessary. A new roof properly installed with correct underlayment, ice and water shield at the eaves, and properly flashed penetrations is fully weather-tight from the moment installation is complete.
If you observe any water intrusion after the first rainfall, contact your contractor immediately. This is a workmanship warranty situation that should be addressed promptly.
Scheduling a Follow-Up Inspection
The free roof inspection service that Four Seasons Roofing provides is not only for homeowners considering replacement. An inspection six to twelve months after installation provides confirmation that all components are functioning correctly and identifies any early-stage issues that can be addressed under the workmanship warranty.
Annual inspections thereafter maintain the documentation record that supports insurance claims if a future storm event damages the roof, and allow any component-level issues (failing pipe boot, sealant deterioration at a flashing) to be caught before they become interior water damage.
Warranty Questions or Concerns
If questions arise about the work after the project is complete, contact the contractor directly. For workmanship warranty claims, the contractor should respond promptly and address the issue within the scope of the warranty coverage.
For manufacturer warranty claims involving the shingle product itself (premature granule loss, manufacturing defects), the contractor who installed the product can assist with navigating the manufacturer’s warranty claim process.
Why Local Matters for a Lynchburg Roof Replacement
The Lynchburg area has roofing contractors ranging from large regional companies that serve multiple mid-Atlantic markets to smaller local operations with deep roots in the community. For a project with workmanship warranty implications that may extend 10 or more years, the distinction between a contractor with genuine local accountability and one without it matters.
A contractor who has served the Lynchburg area for over a decade has a track record of local projects that can be verified. They have relationships with local suppliers, knowledge of local building department requirements, and a reputation in the community that is worth protecting on every job.
Four Seasons Roofing has been serving Central Virginia, including the Lynchburg area, for over 14 years. The company was founded on Amish craftsmanship values that treat every roof the way the craftsman would want their own home handled. That standard does not change with project volume or scheduling pressure.
For a Lynchburg homeowner ready to start the process with a free inspection and estimate, call 434-390-0199 or schedule online. The inspection costs nothing, the estimate is written and detailed, and the conversation is honest about what your specific home needs.
Quick Reference: The Timeline at a Glance
| Phase | What Happens | Typical Timing |
|---|---|---|
| Initial contact | Phone call, assessment of situation | Day 1 |
| Inspection | On-site roof and attic assessment | Within 1 to 2 weeks |
| Estimate presentation | Written detailed scope and pricing | 1 to 3 days after inspection |
| Contract and material selection | Shingle selection, contract signed | Day of or shortly after estimate |
| Material ordering and scheduling | Delivery, crew scheduling | 3 to 7 business days |
| Installation | Tear-off, installation, cleanup, walkthrough | 1 to 2 days |
| Final documentation | Warranty documents, final payment | Day of completion |
The Bottom Line
A new roof installation in Lynchburg does not have to be uncertain or stressful. The process follows a predictable sequence from first call through final walkthrough, and understanding each phase in advance eliminates most of the anxiety that surrounds this project.
The key factors that make the difference between a smooth experience and a difficult one are the same factors that make the difference between a long-lasting roof and a problem roof: the contractor’s professionalism and accountability, the quality of the materials specified, the precision of the installation, and the transparency of the entire process from inspection to warranty documentation.
Four Seasons Roofing brings 14 years of Central Virginia experience to every Lynchburg area project. Call 434-390-0199 or schedule your free inspection online to get started.
Why Schedule a Call?
Popular Insights
Can a New Roof Lower Your Virginia Energy Bills? What to Expect by Material and Season
Oct. 21, 2026
Metal Roofing Cost in Virginia: Standing Seam vs Corrugated and What’s Actually Worth It for Your Home
Oct. 09, 2026
How to Choose a Roofing Contractor in Virginia: 6 Questions That Separate Professionals from Fly-by-Nights
Oct. 02, 2026New Roof Installation in Lynchburg, VA: What Homeowners Can Expect from Estimate to Final Day
Sep. 25, 2026
Storm Damage Roofing in Central Virginia: What to Do in the First 24 Hours After Your Roof Is Hit
Sep. 23, 2026Topics
Our Services
- Gutter Services
- Storm Damage Roofing
- Commercial Roofing Service
- BRAVA Cedar Shake Roofing Tile
- Insurance Claim Assistance
- Residential Roofing Services
- Roof Inspection Services
- Roof Repair Service
- Roof Replacement Service
- Shingle Roofing Service
- Metal Roofing Service
- Emergency Roof Repair Services
- BRAVA Spanish Tile
- BRAVA Slate Tile